Pages

Showing posts with label Appetizers. Show all posts

Wednesday, March 18, 2015

Luck of the Green Goddess Dip - A St Patrick's Day Potluck at Work

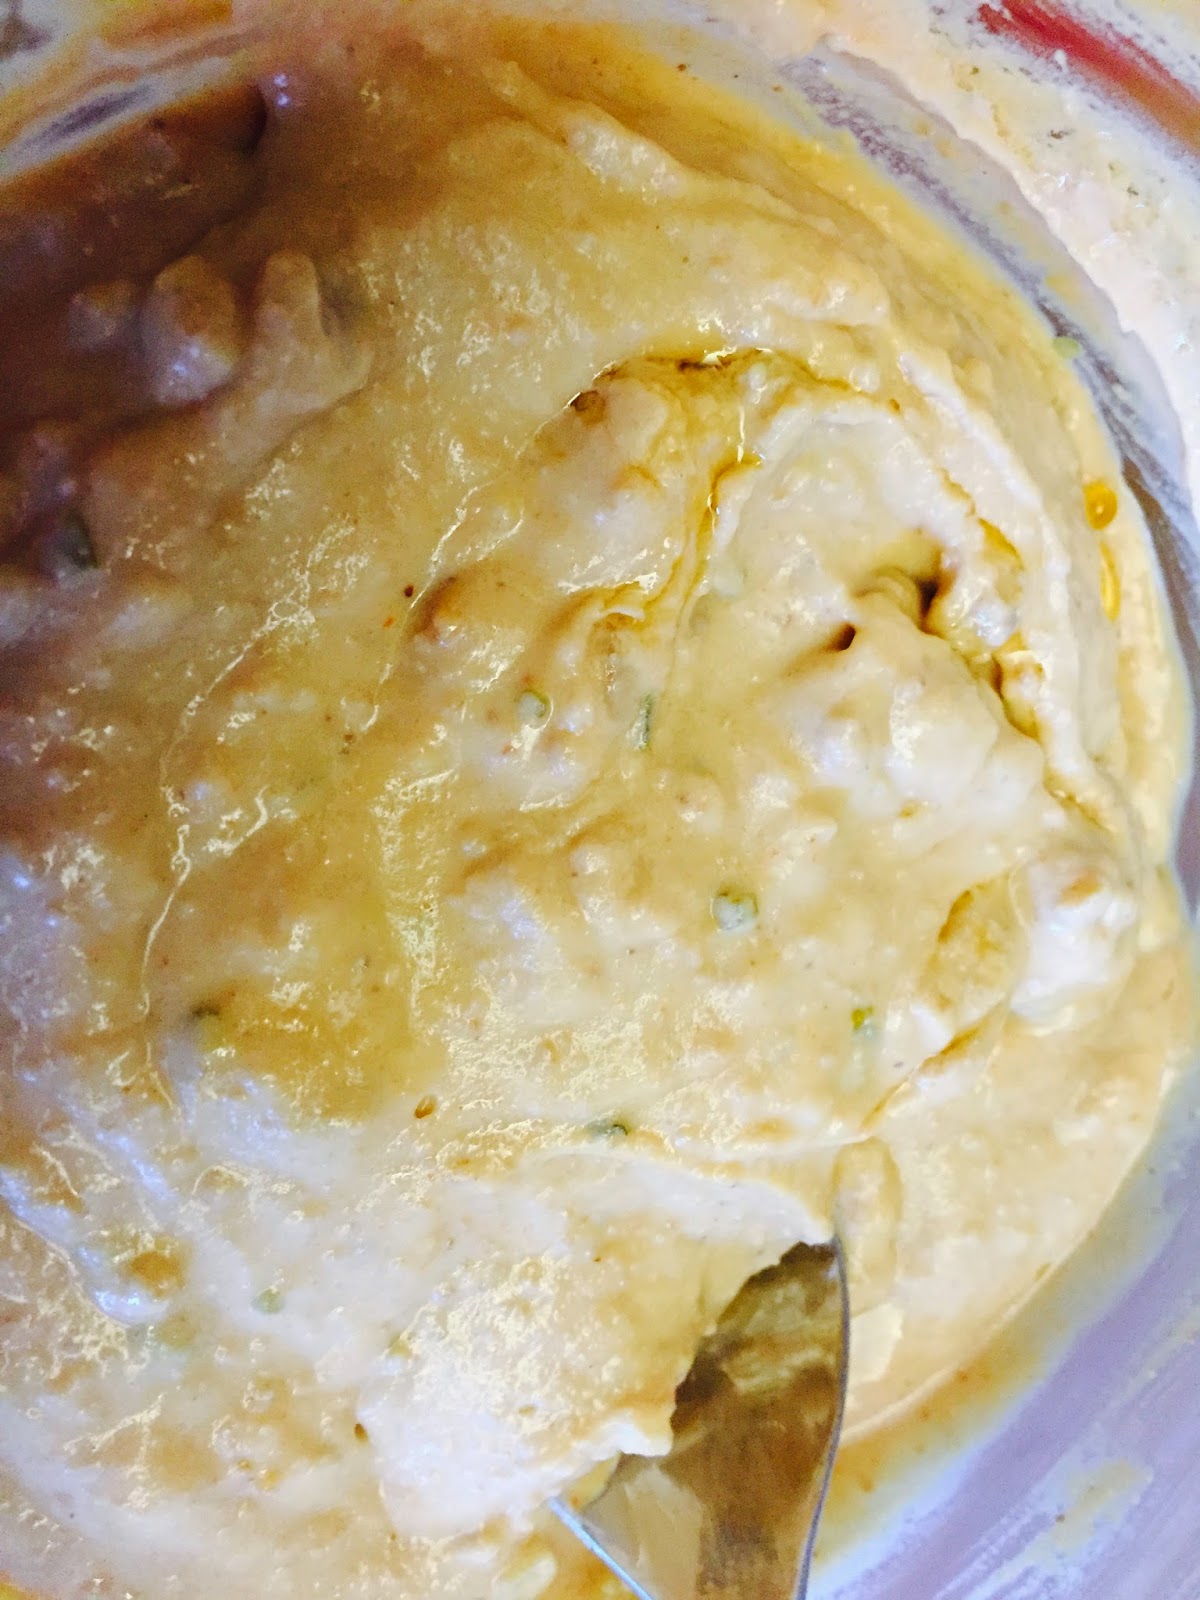
Green Goddess Dip

Yesterday, at work we had a St. Patrick's day potluck. 

I work with a great group of people and our kitchen is always filled with some sort goodies. We all came together and celebrated St Paddy's day!

Everyone brought a little something, and I brought my Green Goddess bean dip. I wanted something to suit the color of St Patty's day - GREEN!  

I think it went over well, since I took home a clean travel container.
Green Goddess dip with chips, served on the only platter I could find in the office kitchen - it's Christmas theme.
This dip is really easy to make with a food processor. It's vegan and it has no gluten (other than the dipping vessel), it carries well and keeps in the fridge for a few days (if it can last that long).

No need to heat up and easy to carry on the bus. It's also high protein and it's Paddy day friendly.


Time to make: 30 minutes
Serves: 10 people as a potluck dip

Ingredients:

2 cans of White Kidney beans, 540 ml each can
2-3 cloves of garlic, roughly chopped (you can more or less to your taste)
1-2 Limes, juice
1/2 cup of Good quality Extra Virgin Olive Oil
1/2 cup* water (could use more or less depending on the the thickness you like)
1 cup of Arugula, washed and coarse chopped
1/2 bunch of Flat Leaf Parsley, washed and coarsely chopped
1/4 bunch of Cilantro, washed and coarsely chopped* (don't like? don't use)
5-6 Large leaves of Basil
10 small leaves of Mint
Salt and Fresh Ground Pepper
Dash of smoked Paprika

Dipping vessels: your choice - crackers, taco chips, bread, carrots or your favorite dipping vegetables.

Tools:  Chop board, knife, colander, food processor, citrus juicer, spoon and serving bowl.

Open and drain the cans of beans in a colander.  Rinse the beans thoroughly with water. When you notice bubbles on the beans, that means that there is a lot of sodium. Rinse with water until you notice the bubbles are gone.  

Shake the beans well, and place into the food processor.  Add the chopped garlic, and the greens.  Swirl (on low) a few times in the food processor, stop and with a spoon push down sides then add the juice of of the limes, salt, pepper and a dash of paprika.  Swirl again on low.
*If you don't have Arugula, that's ok - use more parsley.  Have spinach? That's good too.  Don't have basil or mint - no problem!  This dip is forgiving, and you can use your favourite green leafy vegetable.  Except - lettuces, they turn brown and get watery.

As it's swirling on low, add the olive oil.  If you like olive you you can add more than listed, if you wish, but if you are trying to keep it low in fat - use water (a little at a time).  

Stop and take a taste test. 

Does it need more salt/pepper?  Too thick - add more water/oil. Too sour? - add a pinch of sugar to counter act it.  Swirl until smooth.

Place into a bowl, cover and refrigerate for 1 hours before serving.  The more it sits the better the flavors mingle.  Tastes really good the next day.

Serve with your favourite dipping vessels: crackers, bread, carrots - etc.
The spread at the potluck. yummy lunch!
Even though this is a dip, I don't see why it cannot be used on top of pasta or rice to make it a complete meal.  It's beans, so it heats well.  I think I'll try making it as a sauce the next time I make it.

Enjoy.

Saturday, February 21, 2015

Spinach and Strawberry Salad

Spinach and Strawberry Salad with Almonds and Goat Cheese

Ah, spinach and strawberries!  This salad says summer, even though it's still February.  


It's easy and pretty tasty (in my opinion).  If you are packing this for lunch the next day, I recommend not adding the dressing until you serve.  

This recipe has red onion. If you hate onion, you can leave it out - but, I like red onion, it gives a contrast to the sweet strawberries. The trick to not let the onion overpower the salad, is to let the red onion soak in some lime juice.  I heard this somewhere that the lime juice changes the sharpness. I've tried this method a few times and it works.  You can use the lime juice afterward in the dressing. The onion flavour doesn't transfer over in the liquid.  


4-5 cups of Spinach, washed and spun dry
1 cup of sliced Strawberries
4 tbs of sliced Almonds
1/8 of small Red onion, thinly sliced in rings
3-4 tbs of Goat Cheese, crumbled (or your favourite mild cheese)

Dressing:
4 tbs of Extra Virgin Olive Oil (good quality)
Juice of 1/2 a Lime
Dash of Salt and some fresh ground pepper
1 tea of honey

Tools: Large salad bowl, small bowl, salad spinner, knife, cut board, juicer, salad tongs, whisk or fork.

Step 1:
In a small bowl, put the sliced onion with the lime juice.  Let it sit and marinate in the juice for a few a few minutes.  The juice will turn a slight pink color.  Remove the onions, but don't throw out the juice - you'll need it for the dressing.

Step 2:
In a large bowl add the spinach, top with strawberries, almonds, onions (post marinated in lime juice) and  crumble the cheese.  

Step 3:
In the small bowl with the lime juice, add the rest of the dressing ingredients and whisk well. Taste and adjust the seasoning if you like.

Add the dressing right before you are going to serve.  You can drizzle and mix together, or plate the salad and let people spoon the desired dressing they want to have.

Enjoy.

Saturday, February 7, 2015

Thai Salad Rolls with Peanut Dipping Sauce

Book Club potluck, Zombies and Thai Salad Rolls

I'm in a book club with a wonderful group of women.  Our book club reads books that were turned into movies.  Every few months, we pick a book to read - then we gather together to watch the movie and see how far off the movie was from the book.  Our books can range to deep and thought provoking to easy and fun.  We also (the best part), do a potluck usually on the book's theme.  
Our last book was: Warm Bodies by Isaac Marion.  It's a zombie teen romance novel. Since we really didn't want to do a potluck based on brains; we were lucky the main character ate some Thai food.  Our next book is "The Hundred-Foot Journey" - can't wait for that potluck.


I love Thai Food.  The mixture of salty, sweet, sour, heat and freshness is amazing.  

I saw a few recipes for Thai Salads, and I came up with this one recipe below.  My idea was to roll the salad into a finger food.  Thought it would be fun.

This recipe is vegetarian and can easily be turned into vegan if you change the honey to agave nectar.  

Cook time: 5-10 minutes for the dipping sauce
Prep time: 1 hour (rolling takes time)

Ingredients:

Filling:
2-3 Carrots, shredded
1 English cucumber, remove seeds and chopped finely
1 Red pepper, chopped finely
2-3 Green onions, chopped finely
1/4 -1/2 Savoy cabbage, finely shredded
1/2 cup Basil, minced
1/4 cup Cilantro, minced
1/4 cup Mint, minced
1 cup  Peanuts, dry roasted, unsalted (this add more crunch)
2-3 tbs Fresh lime juice
a pinch or two of salt
a pinch or two of sugar

1 pkg Rice paper (sold either in the deli or Asian section)
Warm water from the tap


Sauce:
1-2" piece of Ginger, grated or chopped very fine
2-3 Garlic cloves, grated or minced very fine
1 tbs of oil (use peanut or canola)
1 cup of Peanut Butter (natural, creamy is the best)
1 tbs of Soy Sauce*
1 tbs of Sriracha sauce*
Juice of half a Lime (fresh is best)*
1 tbs of Honey (or Agave for vegan)*
a few drops of Sesame Oil*
1-2 cups of water* (use only in small batches, to reach your desired consistency)
1 tbs of cilantro stems (use the leaves for the filling)
     *use to your taste buds, you can add more or less

Tools: Box grater, knife, cutting board, paper towels, spoons, large bowl, rimed platter, sauce pan, citrus juicer, serving dish and bowl.

Step 1:  Chop, shred and minced all the ingredients for the filling and add into a bowl.  Add peanuts and mix the ingredients well. Sprinkle a little of the sugar and salt and some lime juice - mix and add more salt/sugar/juice.  Taste to your liking.  Set aside for 5 - 10 minutes to let the flavors mingle.


Step 2: I just followed the instructions on the rice paper packaging.  It's simple, but you need some gentle hands - these sheets can tear easily.  Plus, watch for over soaking, the sheets can turn it into goo.
In a shallow rimmed platter add warm water from the tap.  Warm water works best and throughout the rolling process. I recommend changing the water when it cools down.  You'll notice the paper not soften easily when the water gets to room temperature.


Put one of the sheets into the warm water for five seconds. Submerge it in the water.
Then, carefully remove from the water and lie it down onto a clean chopping board. Let it sit for 30 seconds before you roll.

Take about 2-3 tablespoons of filling and add just south of center of the sheet.  Fold the bottom over the filling.  Next fold over the ends (see above) and roll to the end.  Just like making a wrap.

Continue these steps until you have used up all your filling.  This recipe make about 12-16 rolls, depending on how much you put in each roll.  Left over rice paper can be refrigerated.

To store the rolls: I use a rectangular baking pan and I put a damp (not wet) paper towel or tea towel on the bottom.  Then I line the rolls on top of the damp cloth, then add another damp towel on top of the rolls.  These rolls can dry up very fast in our Edmonton climate.

Peanut Dipping Sauce:


On medium heat, warm the oil, add the garlic and ginger.  Stir and cook for about 1-2 minutes.  (Smells divine)

Add the peanut butter and add some water to loosen and break up the butter.  Mix well, this sauce needs constant attention. 

When the peanut butter has liquefied, add Sriracha, soy sauce, lime juice, honey and some sesame oil.  

Reduce heat to low and keep adding water to the sauce (little at a time) to get the consistency you would like. 

Taste as you stir, if you want more heat - add more Sriracha or it's too sour add a bit more honey.  Thai food is a mix of flavors, but it's all up to what you to taste.

Add the cilantro stems (optional) to the sauce at the end of cooking.  
The time it takes to cook the sauce can be from 5 - 10 minutes. Remove from heat and let it cool down.  You can serve this sauce warm or cold.   

This sauce tastes really good with grilled chicken  or on top of coconut rice.  My husband loves this sauce.

Serve the salad rolls with the sauce and enjoy the flavors.

Local Product:

The basil I used in the filling was grown locally in Morinville, by West Country Herbs.  
I purchased my basil at Andy's Valleyview IGA (9106 - 142 Street, Edmonton).  I've also have seen this basil at the Italian Centre too.  

The local basil sold in the larger 28 gram package was cheaper than the smaller (not local) package.  


Sunday, February 1, 2015

A dip for Super Bowl Sunday

Six Layer Bean Dip

It's Super Bowl! What better way to suit the occasion than making a dip?  I normally don't watch football, but it's the Super Bowl - the one time I will watch.  More so, I want to see the Budweiser puppy commercial.

I used to make this dip every year for our Halloween party.  It was a crowd favorite and finished way before the evening ended.  I came up with this recipe by trying the layer dips you can by the the grocery store deli. I experimented one time with flavors I thought paired well and it worked out.  I had friends asking for the recipe.

This dip is really easy to make - just mix, spread and sprinkle.  It's vegetarian friendly and can be adjusted to your taste.  


Time: about 30 mins
Serves:around 6-8 people.  You can double the recipe if you're having a big crowd.
Tools:  Shallow serving dish, about 8"-9" round or square (glass ware looks nice), about five spoons, a spatula, a knife, cutting board, three bowls, paper towels. measuring tools
See notes below each steps for more ideas or best results

Ingredients:

Layer 1 (bottom)
1 Cream Cheese, 8 oz brick (softened)
2 Tbs of Mayo or Miracle whip
3 Tbs of Sour Cream
2 Tsp of Taco Seasoning mix (envelope package mix sold by the taco kits)

Layer 2
1 can Re-fried Beans, 14 oz
1 can Green Chillies, 114 ml
dashes of your favorite hot sauce

Layer 3 and 4
1 jar of your favorite Salsa
1/4 cup of sour cream

Layer 5 
3-4 Green Onions, finely chopped
1-2 Tomatoes, seeds removed and finely chopped
1/4 of Red or Green Bell peppers (or both), finely chopped
4 Tbs of sliced black olives (drained well)

Layer 6
1 cup (heaping) Shredded Mexican cheese blend
          or you can grate Cheddar cheese with a little Jack cheese.

Accompany with
1 large bag of Tortilla chips


Step 1

Take the cream cheese and stir until it's soft and creamy.  Add the sour cream, the mayo and the seasoning.  Mix until well blended and spread evenly on the bottom of the serving dish.  Try to spread to the edges with either the back of the stir spoon or a spatula.

Note:  
If the cream cheese is still cold, I'll put the cream cheese in a microwave safe bowl (removed from it's packaging of course), and nuke it for about 30 seconds. Then stir. 

You can use lower fat cream cheese (I do), but never use the fat free stuff. Especially, for the sour cream - don't use the fat free sour cream.  It's just wrong.  Actually, even the fat free mayo is nasty too. If you really do like the taste of fat free, be my guest and try it...but the dip might taste sweeter and watery.  
  
For the taco seasoning - it can be high in salt.  If you are trying to limit sodium - you can omit it (it will still be good, I've done it) or make your own seasoning.  Use pinches of: Cumin, Cayenne pepper, chili powder, garlic and onion powder.


Step 2

After the first layer of cheesy creaminess, it's the bean layer.  Open the cans of re-fried beans and green chillies and mix well in a bowl.  Season with your favorite hot sauce.

Spread the bean mixture over the cream cheese layer.  I normally leave about an 1" around the boarder to see the cream cheese.  

Note:  
You don't have to use hot sauce.
Mild or medium heat green chillies are sold next to the re-fried beans in the taco kit section of the store.  They are not really hot, they give a tangy taste.

Step 3

Open your jar of salsa and spoon/spread it over the bean mixture. Try getting more salsa than liquid, the less liquid you put on this dip the better.  Leaving again, a 1" around the rim to see the beans.

Step 4

Top the middle of the salsa spread with some sour cream.  Just dollop on top.


Step 5

Add the chopped veggies.  Chop them small enough that they can be scooped up on a chip.

One trick I do with the tomatoes (shown above) is removing the seeds and juices before finely chopping.  
If the dip sit for a bit, it can accumulate water from the salsa and vegetables around the bowl edges. I just find removing the tomato seeds helps a lot.

Sprinkle all the chopped vegetable around the whole dip. Let them land where they may, as long it's on the dip and not on your counter. 

Note:  
This is your dip, if you don't like olives - don't put them in.  If you can't find red peppers, only green - fine.  Use the veggies you like and are easy to get to.  
For the black olives, you can buy them at deli's whole then slice them if you like.  The green and kalamata olives are good, but they can over power the dip.  Though, if you like the best - got for it.

If you want to ADD more veggies you can.  I have experimented and added:
- chopped cilantro  
- chopped avocado (sprinkle with lime juice to reduce browning)
- Jalapenos
- Bacon,  Cooked and chopped.  Yes, I know it's not a veggie, but you can add it if you like - the dip of course now won't be vegetarian anymore.

Step 6

Sprinkle the shredded cheese all over.  Don't hold back.  oh...glorious cheese...

Step 7

You can serve this right away or refrigerate until you're planning to serve it.  It actually tastes really good when the ingredients have a change to mingle for 1 - 2 hours.

Serve with good quality Tortilla Chips.  Use a sturdy tortilla chip that can handle the weight of all this goodness.

Locally made product: 

The chips I like to use are from El Mercado.  
It's an Edmonton tortilla factory.   

I bought my bag of chips at Acme Meat Market, but the chips/tortillas are sold throughout Edmonton.  You can find them at Save on Foods, Tienda Latina market, the Italian Centre and other independent places.  

El Mercado's info and where to buy is on their website: www.tortillaselmercado.com

The chips are freshly made, crispy, lightly salted and hearty.  I eat them plan lots of times without any dips/salsa. 


As mentioned on my profile - I support locally made products.  I don't get paid for promoting anything.  If I truly like something that's made here locally - I let people know about it. Sharing info is a good thing. 

If you can't find these tortillas and/or choose to use another brand that's OK.  The dip will still be tasty.

Let me know what you think of this dip.

I hope which ever team your cheering for (or have money on) wins the Super Bowl.  
Go your team go!  I'm neutral.  I'm just watching the commercials.

Cheers!